7 miraculous photography tips & tricks for getting more unique photos
Photography
2021/03/09
While artists adhere strictly to photography techniques, they also break some rules for the freedom of creativity. Are you always unsure of your ability? Do you really want to take inspirational photos but don’t know how to begin? 7 photography tips & tricks below will really work for you to get truly unique products.
1. Use Flash to change lighting condition
The article 7 photography tips & tricks for beginners advised to limit using flash or night mode in camera because it will affect the quality of the image. But that's for amateurs. For those who have had a long time using a camera, the flash is one of useful photography tips & tricks for shooting creative frames.
Although natural lightning on clear sunny days is a good condition to take sharp, vivid photos, it occasionally seems quite boring. The case usually appears in portraits when every picture of an album bears the same lighting and color.
To make a difference, let’s turn up the power of your flash to the max level. Certainly, the key subject will be pretty bright. Then set up the camera with the mode exposing for the subject. This will make the flash illuminate only the character but not anything, causing the background to become remarkably darker.
The special results of the first one in the photography tips & tricks list is that you can take shots which look like in night time during the midday.
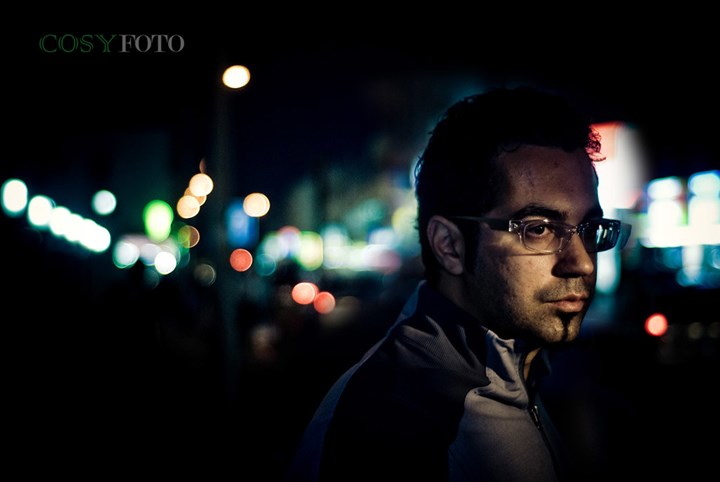
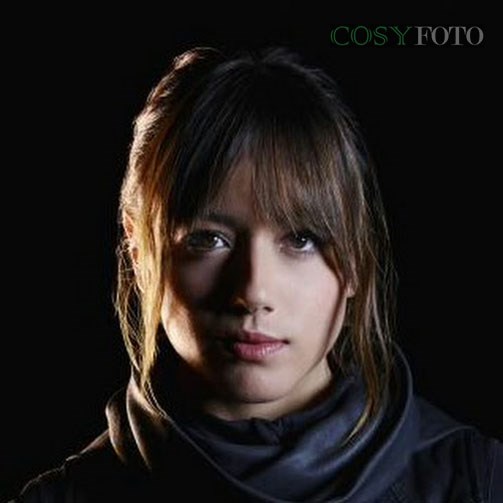
Appealing portraits with flash mode on the camera
It is so easy to take a unique shot by flash mode using the following steps. Firstly, press the depth of field preview button on the camera to flash the sample. This step helps you to clearly see where the flash is shading on the portrait subject. Next, move the flash to find the suitable position. This step usually takes you a lot of time to have trials and errors correcting.
Remember that the flash is not necessarily direct to the subject. Whatever position, E-TTL mode controls flash exposure so that the whole frame will be properly exposed.
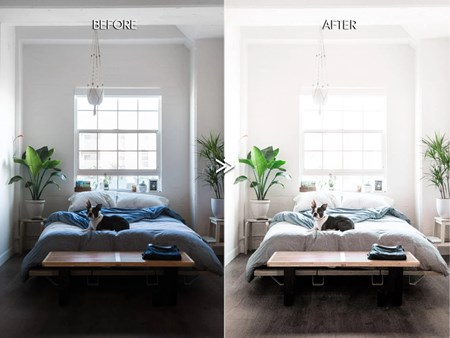
2. HDR imaging
HDR, standing for high dynamic range, is a technique that helps create impressive photos with great sharpness. Dynamic range refers to the contrast between an image’s dark and light sections.
HDR images are usually created by taking at least three same shots in Bracket (multiple shots with different exposure times). This means each photo will be taken with various speeds or apertures settings. The more contrast the image is, the more shots you need to take. Eventually, you will get dark and bright photos, depending on the amount of light passing into the lens. You then use the software to combine all the photos you have taken to create the final composition. The last product will certainly surprise you with realistic details as if you were looking at the scene in reality.
Finally, which HDR software should you choose? There are lots of editing software, including popular ones like Photomatix Pro, Luminance HDR and Photoshop. But don’t forget that the HDR software has many good options. You can easily adjust the tone-mapping effect, including luminance color saturation, and additional visual factors, according to your preference.
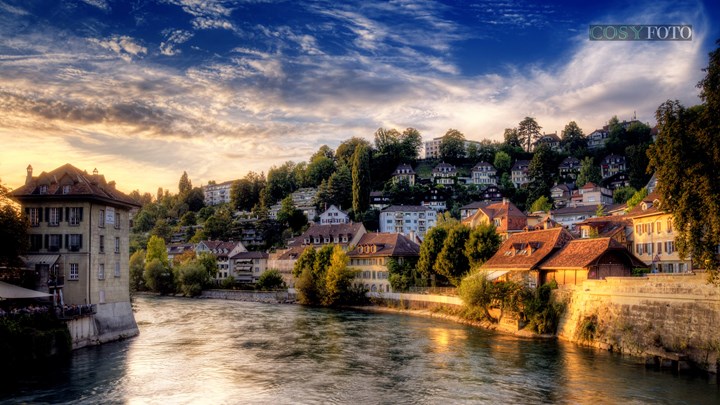
HDR technique creates sharpness and drama for the image
However, not every picture can be used HDR indiscriminately. This method is mainly for scenes and subjects with a high contrast between bright and dark areas. A typical example is a vast natural landscape with a great contrast between the sky and the ground. With this background, the HDR technique allows you to capture the details of the sky without affecting other details.
More information about free editing photo websites here
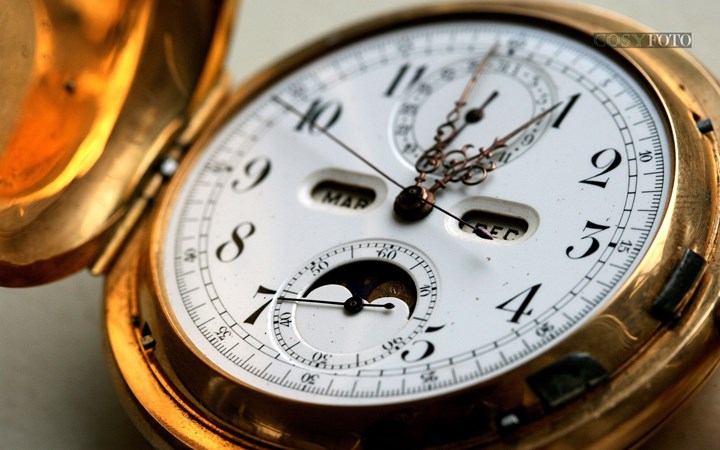
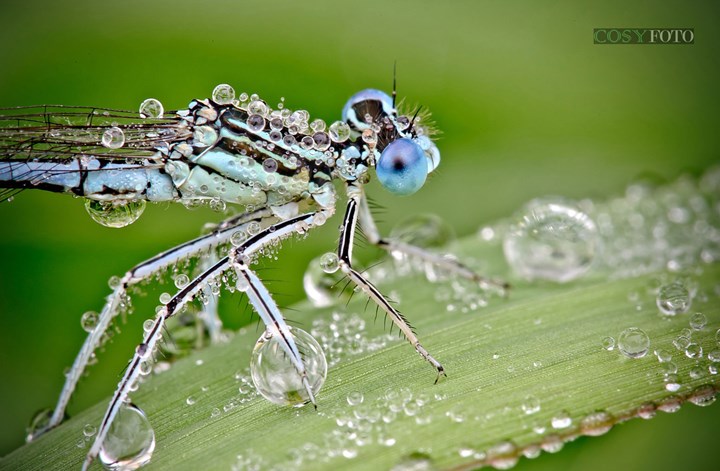
3. Try shooting in Macro mode
Macro mode is also one of the most interesting photography tips & tricks I would like to recommend. It is a method which impresses most people because the close-up image is able to depict all things difficult to observe with naked eye. Therefore, it requires an extreme meticulousness and creativity.
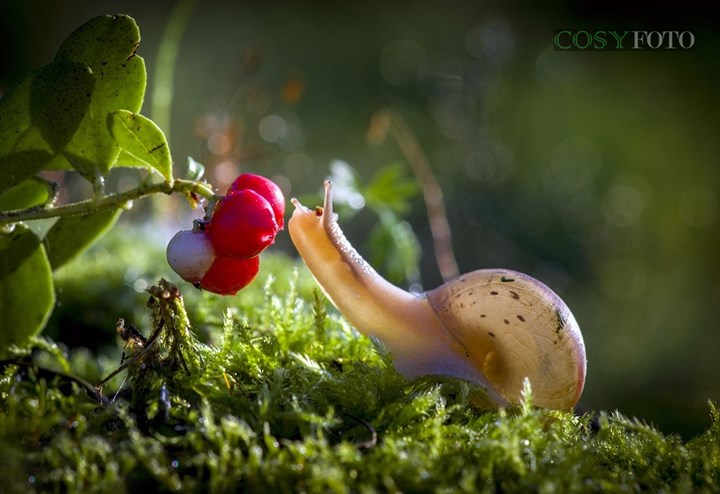
Seeing these photos, you will enter a little new world, unlike portrait or landscape pictures. These types of shots can be a great idea for a series of photos, especially for capturing natural objects like flowers and small animals. It is applied for the marketing aspect as well. For example, the product features of a brochure, or an eye-catching promotional poster. When using Macro mode, make sure of a best lighting condition and attractive color so even the smallest details stand out maximally.
Here are examples of excellent close-up photography:
4. Trying Bokeh technique
When it comes to photography tips & tricks, Bokeh is a must to mention. Bokeh comes from a Japanese word, which means the feeling of a blurred area. In photography, Bokeh is a popular technique that takes the low lighting intensity from the remote light to create a soft and magical background. This technique, hence, emphasizes the main subject and makes the photo more aesthetic.

There are some recommendations for taking a good Bokeh photo. Firstly, set the lens aperture to smaller, usually f/2 or less, for better exposure. This reduces depth of field, thereby reducing the sharp area against the background. The second way is narrowing the distance between the subject and the camera. This is because the camera mechanism works like the human’s eye. Therefore, the closer you are to the subject, the blurred the background is, which creates the Bokeh effect. Moreover, editing Bokeh photos by Photoshop is a worthy choice as well. Using Photoshop to blend colors and adjust the depth of field in your photo is also an addition to get a more sparkling and harmonious image.
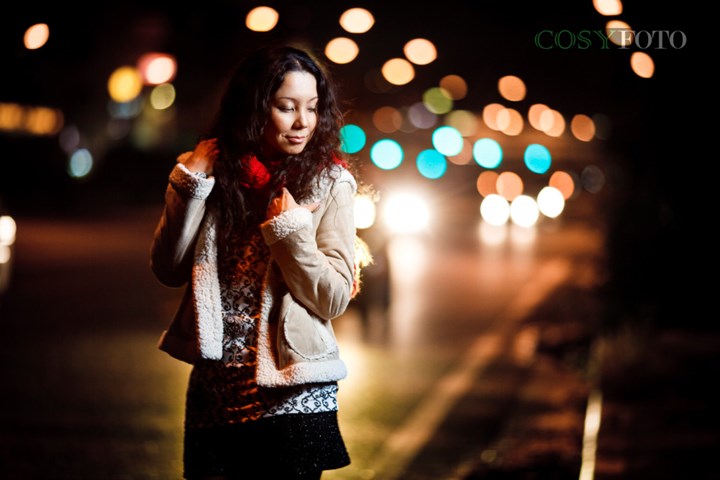
Sparking shot with Bokeh photography technique
5. Modifying shutter speed to capture fast-moving shots
Besides low lighting conditions, fast-moving is also a difficult technique. Therefore, taking fast-moving pictures is another part of these 7 photography tips & tricks, using shutter speed. This kind of photography method is very suitable for child shots or for sport aspects like bicycle racing, skiing, and so on.
All interchangeable lens cameras allow the photographer to modify the shutter speed by manual mode or shutter-priority mode (Tv or S). If you find it hard in manual one, you can choose shutter-priority mode. With this, you only need to adjust the speed, and the aperture will be automatically set by the camera.
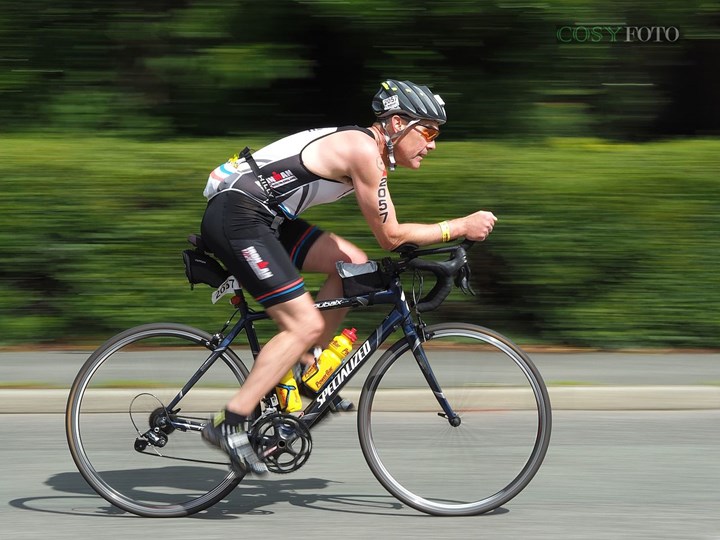
The athlete’s speed aesthetically shown on the fast-moving picture
One thing to keep in mind is that the more you increase the shutter speed (up to 1/500 or 1/1000, for example), the less light will enter the sensor. In this case, you will have to gradually adjust the extension larger. Or you can increase the ISO higher to capture more light.
After setting the camera, you should start to find a proper angle. Keep your camera on your subject, with your finger half way down on the shutter to lock the focus. Capture the shot and shift the camera to the subject’ s movement.
6. Focus on the background
What a weird recommendation! Yes, an out of focus background helps to emphasize the subject. However, sometimes the opposite works when you want to order, for example, a combo of dishes that should be eaten together. In this case, keeping your subjects in front a bit but leaving the background blank can help take advantage of this idea. In the meantime, you can also try changing its place with other props or in the background. This is one easy and effective way to improve your skills of the 7 mentioned photography tips & tricks.
Here are some examples with an underlined background:

7. Golden hours for photography
Apart from the technique, you should pay attention to factors in the surrounding environment such as temperature, lighting, color ... Golden hours is when the combination of these factors is at the best. Golden hour is considered as the perfect time for photographers to unleash their creativity in outdoor photos. Sunrise and sunset are the two best times for light. At these two times the sun is across the horizon, creating a space with warm tones. During this time, the sun is at the lowest position in the sky, spreading a comparatively softer light than other times of the day. That is why pictures taken at these times seem so artistic and eye-catching.
In the golden hour, you should choose a place with fresh air, beautiful weather, clear sky. These will help you to get the most impressive works.
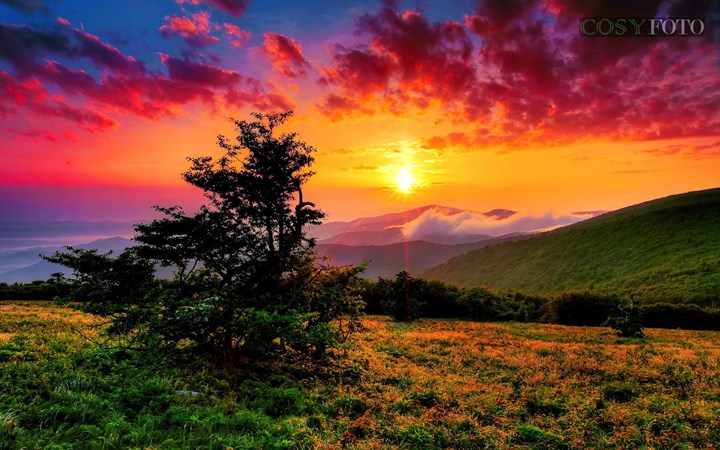
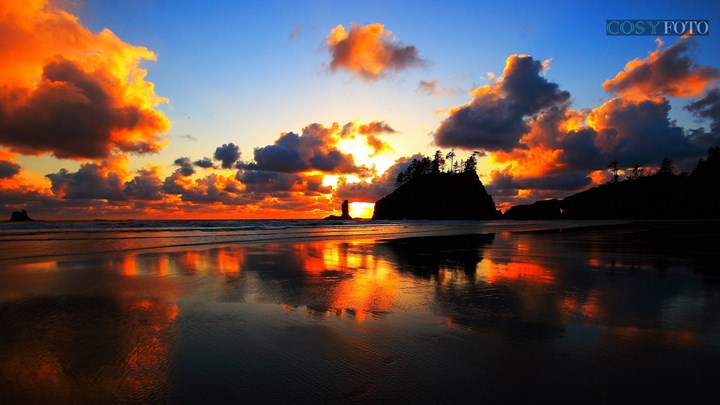
Sunrise and sunset-golden times for photography
To sum up, I would like to say that 7 photography tricks & tips above are not for everyone. Some of these techniques are not for beginners, as such, they take a bit of time and practice to perfect. However, if you’re creative and want to make a difference, then, give it a try. It really works to expand your photography knowledge and skill, helping you to create more professional shots.
 alt="">
 alt="">
 alt="">
 alt="">
 alt="">
 alt="">
 alt="">