Self-study to take pictures: 10 cool phone photography tips you need to know
Photography
2021/03/17
You can create pretty pictures only with a smartphone. This sounds quite easy, but the image quality is not always as expected. This post will provide you with useful phone photography tips so that you can capture shots as pretty as taken by a digital camera.
Nowadays, mobile phones have become indispensable for many people. In addition to the normal use of making a call, the smartphone has been improved with many useful features such as Wifi connection, access to social networks ... Another common feature we can’t fail to mention is taking pictures by smartphone.
Instead of investing in expensive cameras, you can create pretty pictures only with a smartphone. This sounds quite easy, but the image quality is not always as expected. Therefore, the below post will provide you with useful phone photography tips so that you can capture shots as pretty as taken by a digital camera.
KEEP THE CAMERA PHONE CLEAN
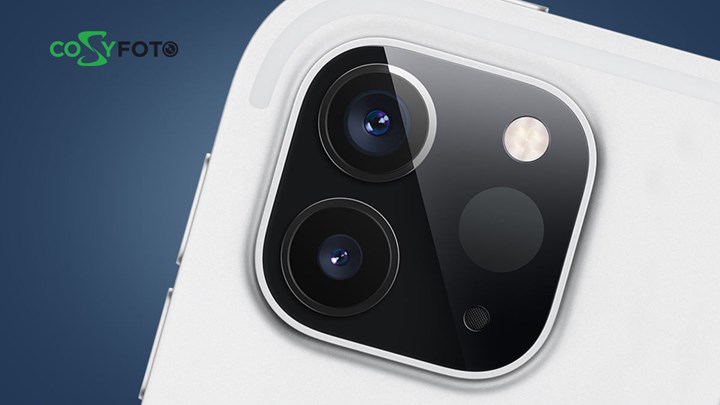
Obviously, keeping the camera lens is the first thing to notice when it comes to photography. However, it's something that often goes ignored. Many users tend to put the phone in a pocket and leave the hand held on the camera. Dust and fingerprints can cover the camera lens of the phone. A dirty lens often results in blurry, bad quality images. Because stains and dirt can diffuse light into the camera lens. You should bring a small piece of cloth, used to clean the camera before shooting pictures. But remember that your camera phone is vulnerable, so be careful to choose the material, the best choice is soft wool type in order not to scratch the camera phone.
CAREFULLY SELECT THE ANGLE TO TRIGGER
One of the most important phone photography tips to take great pictures with your own phone is to choose the proper angle to shoot. The shutter angle, or the shooting angle, is considered to be the most essential technique in the photography art. According to professional photographers, there are eight basic shooting angles: close-up, mid-range, panorama, Dutch girl's angle, low angle, high angle, specific angle, corner angle…

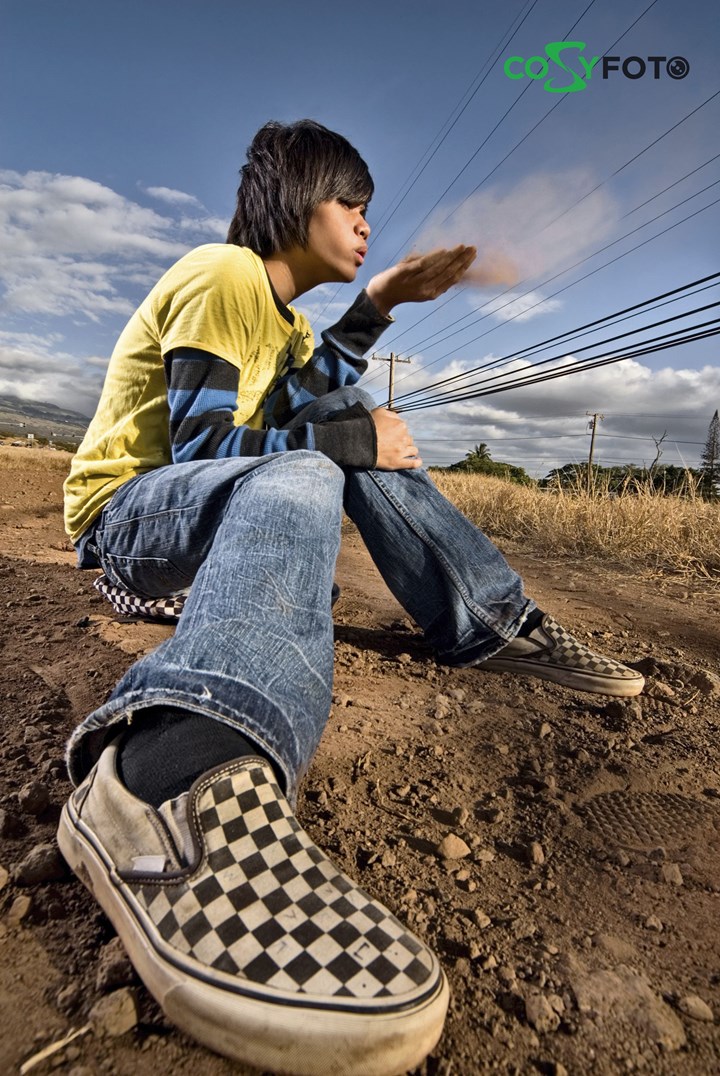 However, there is no certain rule or convention that regulates the angle to get good photos. From these basic shooting angles, the users tend to capture perfectly aesthetics shots.
PAY ATTENTION TO THE LIGHT
Lighting in this phone photography tips list plays a very important role deciding whether the picture is a success or a failure. First, the photographer will determine the light source and then find the direction of light - the key factor in the art of photography. Only when the photographer understands this can they really master their own camera phone and the result will be a desired photo.
There are three basic directions of light: forward light, one side light, and back light. Backlit photography will be quite fun for professional photographers, but with mobile phones, you should minimize it. The function of the flash helps to increase brightness in low-light environments. However, at some angles, the light of the flash makes the photo unnatural and unprofessional.
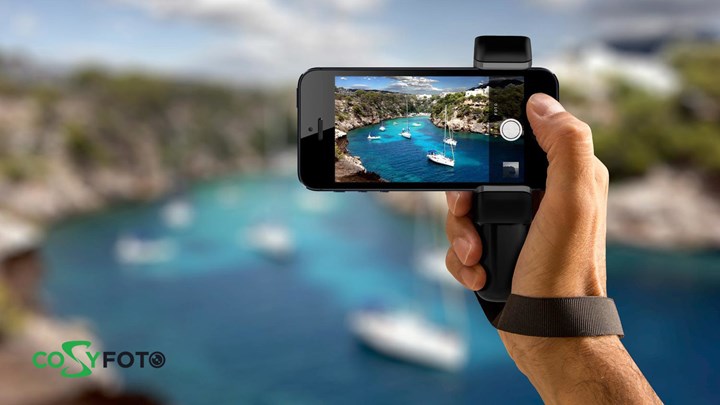
Nowadays, with many different sorts of smartphones, you will automatically focus and measure the brightness of the object whenever you take a picture. So, before shooting, you need to touch many points on the screen to find the most suitable light balance.
Lighting is so important that it is not only one of the essential phone photography tips but also appears in the article 7 photography tips for beginners with a digital camera.
AVOID USING FLASH
Though the flash is a solution in the low light condition, it is temporary. In general, it causes an image to become overexposed, negatively altering colors and reduce its sharpness. When taking pictures, the flash can produce unwanted problems. For example, eyes become too glowy, or skin is too dull ... Even the best smartphones’ flash has some faults.
Of course, there are situations where flash is essential or even very useful (Try using flash in sunlight as a way to illuminate a specific subject or patterns would be great). But overall, try to take full advantage of natural light sources you can find, even after dark.
If you really need an artificial light source, consider LED bulbs that allow you to adjust the temperature and color of the photo. In this case, process the photo you have taken using the "Exposure" tool in your favorite photo editing app to make the image look brighter, without making it too grainy.
PHOTO COMPOSITION AND RATIO
The fifth tip in the list of phone photography tips is paying attention to the photo composition and ratio. Whether you are a professional photographer with a dedicated shooting tool, or a beginner who takes pictures on your own smartphone, you always have to pay attention during the check-in process. In order to have a well-balanced picture, it is pretty important to pay attention to an appropriate composition.
In photography, there are many rules to keep in mind to get better shots. Among them is the rules of ratio, such as the Rule of thirds, symmetry, repetitive patterns…


Basically, ⅓ ratio, known as Rule of thirds is one of the most fundamental and effective tips for amateurs in photography. In accordance to the rule, the main subject shouldn’t be placed in the middle of the picture. It divided the picture into a grid of 3 × 3 structure. When taking a photo, you have to put the key subject coincide with the intersection of these line or along them. With smartphones, it is even far easier if we turn on the camera’ grid lines. The mode allows a series of lines to appear on your smartphone's screen that are based on the mentioned rule. With gridlines, you can easily get a perfect ratio for your shot as a professional photographer does.

AVOID USING ZOOM
Both DSRL camera and camera phone are always equipped with a zoom feature to expand the frame. However, unlike DSRL cameras using optical zoom, smartphone cameras mostly use digital zoom which does not get the best Bokeh effect from wide-angle lenses and achieving the same background effect as DSLR cameras becomes very difficult. The effect of digital zoom reduces image size and makes it more grains, especially on low-end phones. Therefore, if you want to get a desired product, you should avoid unnecessary zooming. If possible, please get closer to your subject for a perfect shot.

More about useful photography tips for beginners here
KEEP THE PHOME STABLE
The camera phone lens is so small that it is very sensitive to hand-shake movements. When you press the shutter button, the phone will vibrate a little, making the photo blur. Try to keep the phone as stable as possible. This is especially important in low lighting conditions as the camera's flash speed-the factor that causes blurring, will be faster. If possible, place your phone or rest your hand on a stationary object like a tree, a wall… when taking the photo.
Besides, remember that every camera phone usually has a certain delay. It is about a second or so, from the moment you press the shutter button to when you take the photo.So you still have to hold the phone for a while until you are sure the photo has been taken successfully.
CHOSE A SUITABLE BACKGROUND

When shooting, you should keep in mind that you’d better choose a scene matching the content of the photo. Although your photo can be edited or cropped afterwards, you can’t put all angles, all scenes you saw in the frame. Only focus on the main subject you want to capture and don't let unnecessary patterns that distract the image into your frame.
Additionally, paying attention to the background so that it will not be a misfit with the main subject is also one of the most valuable phone photography tips. For instance, the peaceful, sacred scene of temples and churches requires you to dress discreetly and have polite pose. You shouldn't wear traditional clothes shot between modern landscapes and vice versa.
IMAGE DEPTH
Creating depth in the photo is not difficult, but it requires high technique, and the photographer's creative, artistic mind. It helps the photo become eye-catching.
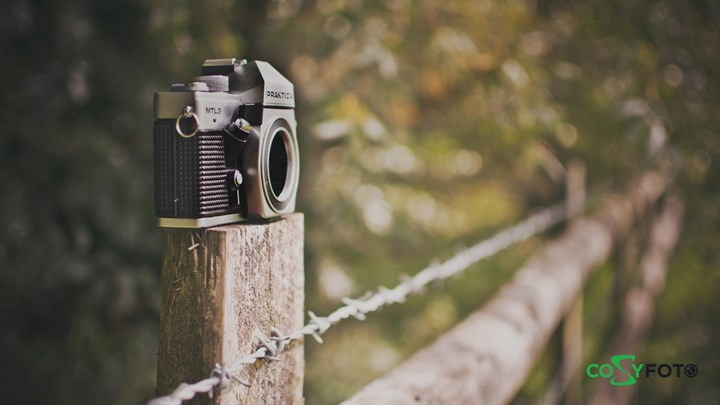
The depth of photos taken on mobile phones is made up of parallel lines such as corridors, fences, train lines… Depth is also created by mist, smoke, or fonts removing...
USE PHOTO EDITING SORFWARE
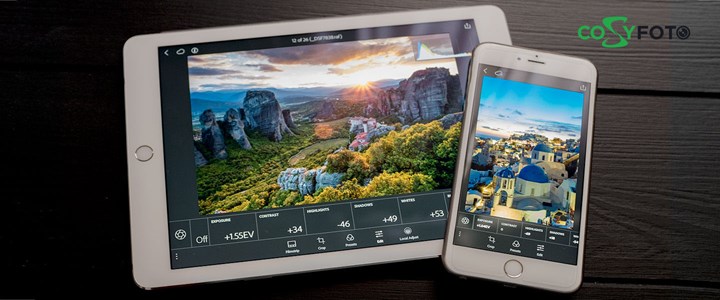
The last of the list phone photography tips is to use software to edit your photos. After taking a wanted photo by your own smartphone, editing is a very important step to get a perfect picture. Currently, there are many free applications that support photo processing. You can crop, rotate or flip the photo to get rid of unnecessary elements, and adjust contrast and colors that may be missing during shooting to make the photo more sparkling as well.
Some of the free software regularly used are Photoshop Touch, Perfectly Clear, Instagram, Line Camera, Camera 360….
EPILOGUE
As you can see, taking good pictures by smartphone is far from difficult. The importance is whether you have enough patience and enough time to practice. I hope that 10 phone photography tips above will help you to get perfect shots even when you don’t have a DSRL camera.

 alt="">
 alt="">
 alt="">
 alt="">
 alt="">
 alt="">
 alt="">
 alt="">
 alt="">
